I Built an Unraid file Server From Cheap Old Junk

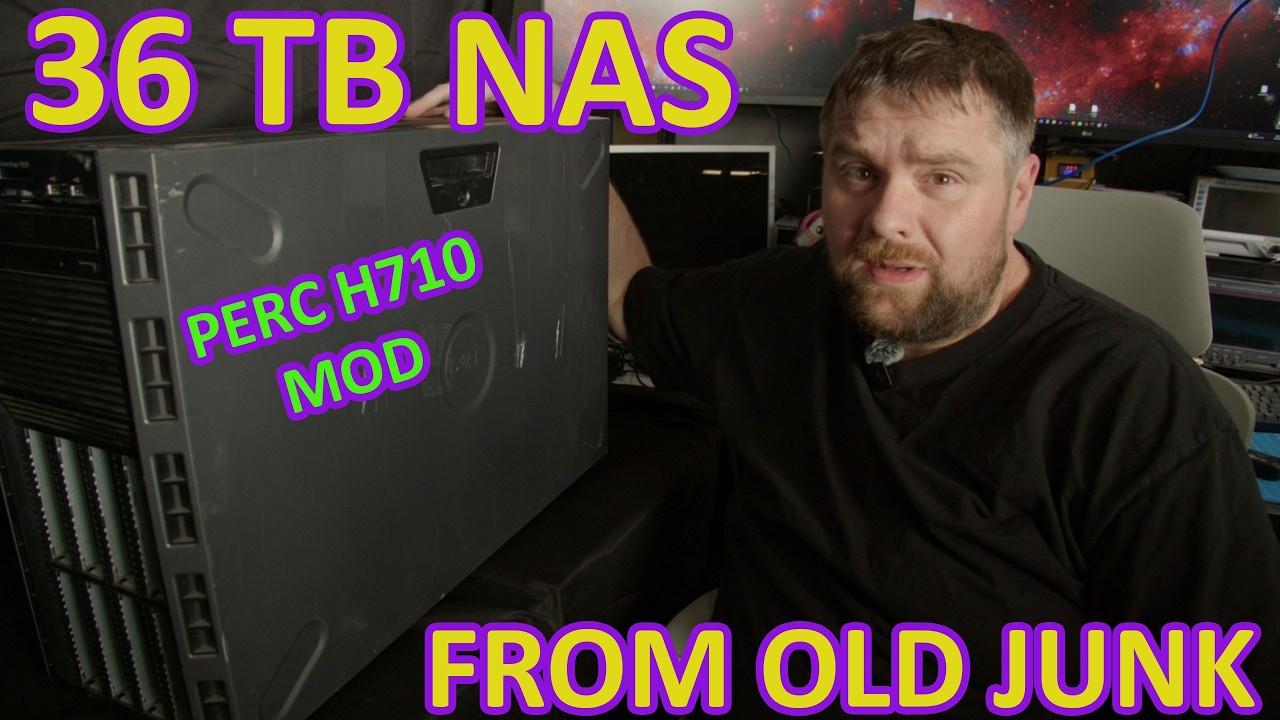
In a fascinating exploration of DIY tech, the latest video showcases the transformation of an old Dell PowerEdge T620 server into a robust home file server using Unraid. The project aims to demonstrate that it is possible to build a cost-effective, expandable Network-Attached Storage (NAS) solution without spending a fortune on new hardware or matching drives. By repurposing enterprise-grade equipment and used hard drives, the creator embarks on a journey to prove that “junk” can indeed be turned into a valuable resource.

Overcoming Challenges with Old Hardware

However, utilizing older enterprise hardware comes with its own set of challenges. The Dell PowerEdge T620 features a PERC H710 RAID controller, which isn’t the most compatible choice for Unraid. To overcome this hurdle, the creator plans to flash the RAID controller into IT/HBA mode. This modification will allow Unraid to access individual SAS and SATA drives directly, bypassing the limitations imposed by the RAID configuration. The video delves into the technical details of this process, illustrating the steps necessary to ensure smooth operation.

Setting Up the Unraid Array

Once the hardware modifications are complete, the focus shifts to configuring the Unraid array. The creator discusses the importance of setting up parity protection, which is essential for safeguarding data against drive failures. Additionally, the video emphasizes the creation of an SSD cache pool using a Samsung 870 EVO SSD, which enhances performance by caching frequently accessed data. By sharing insights on how to create network shares, the creator makes it clear that Unraid provides a user-friendly interface for managing storage, even for those new to the platform.

Mixing Drive Capacities for Flexibility

A standout feature of Unraid highlighted in the video is its ability to accommodate drives of different capacities. This flexibility means that users can mix and match various hard drives, making it easy to expand storage as more drives become available. The creator shares their excitement about the potential for future growth, as they plan to add additional inexpensive drives over time. This aspect of Unraid not only promotes cost-effectiveness but also encourages creativity in building a personalized storage solution.

Useful Resources and Community Support

The video also includes valuable resources for viewers looking to replicate the project. Links to the Unraid USB creator, firmware downloads, and essential software are provided, ensuring that viewers have access to the tools needed for their own server builds. Additionally, the creator shares a 3D print file for a custom drive caddy, further underscoring the collaborative spirit of the tech community. By making these resources available, the creator fosters an environment where DIY enthusiasts can learn and grow together.

In conclusion, this engaging video not only showcases the journey of building a home file server from old hardware but also serves as an inspiring guide for those looking to venture into the world of DIY tech. With a focus on sustainability and cost-effectiveness, the project proves that with a bit of ingenuity and the right tools, anyone can create a powerful storage solution without breaking the bank.

n this video, I'm turning an old Dell PowerEdge T620 and a pile of random used hard drives into a massive home file server using Unraid.

The goal is simple: build a cheap, expandable NAS without buying a stack of matching drives or thousands of dollars worth of new hardware.

Of course, this being old enterprise hardware, nothing is quite that simple.

The T620's PERC H710 RAID controller isn't ideal for Unraid, so I'll be flashing it into IT/HBA mode to give Unraid direct access to the individual SAS and SATA drives. We'll also deal with the T620's boot quirks, set up the Unraid array and parity protection, configure an SSD cache pool, and create network shares. The best part is that Unraid lets me mix all these random drives of different capacities and expand the server later as I find more cheap storage.

Can a pile of old enterprise junk actually make a good modern home server?

Let's find out.

Software links: -Unraid USB creator: https://docs.unraid.net/unraid-os/getting-started/set-up-unraid/create-your-bootable-media/ -Unraid Images: https://docs.unraid.net/unraid-os/download_list/ -Fohdeesha Firmware: https://fohdeesha.com/docs/perc.html -Rufus: https://rufus.ie/en/

-3D Print File for drive caddy: https://www.thingiverse.com/thing:6341208

Hardware: Dell PowerEdge T620 Dell PERC H710 flashed to IT/HBA mode Mix of used 8TB, 4TB SAS/SATA hard drives Samsung 870 EVO SSD cache

Watch on YouTube: I Built an Unraid file Server From Cheap Old Junk

Subscribe: Click here
I Finished Restoring This Panasonic CRT TV/VCR! (PV-C1322-K) | Part 2

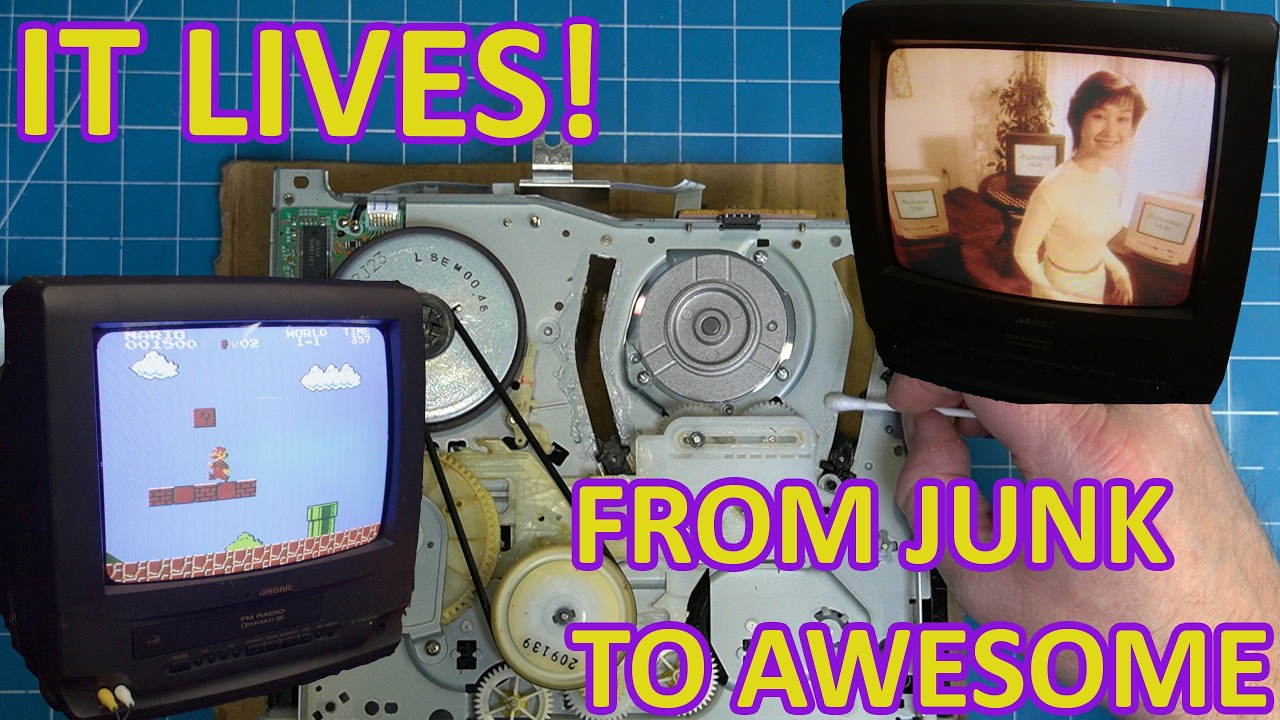
The restoration of the Panasonic PV-C1322-K CRT TV/VCR has reached its exciting conclusion, bringing back to life a cherished piece of vintage technology. After addressing various electrical problems in the first part of the series, this second installment dives deep into the meticulous process of restoring the VCR mechanism, ensuring that every component functions as it should. From cleaning years of grime to reinforcing circuit board repairs, the journey showcases the dedication and passion that goes into restoring retro electronics.

Reviving the VCR Mechanism

One of the key steps in the restoration process involved thoroughly cleaning and lubricating the VCR transport mechanism. Over the years, dirt and old grease can accumulate, hindering the performance of the device. By carefully disassembling the VCR mechanism, the creator was able to eliminate this buildup, ensuring smooth operation. This level of detail is crucial, as a well-maintained VCR is essential for providing a reliable playback experience.

Repairing and Reinforcing Components

In addition to cleaning, the restoration included repairing a broken front flap lever and the damaged cassette door mechanism. These small yet vital components play a significant role in the overall functionality of the VCR. The creator also took the time to reinforce previous circuit board repairs, adding durability to the electronic components and preventing future issues. This attention to detail not only enhances the longevity of the device but also ensures that it performs at its best.

Restoring the Cabinet and Final Assembly

The restoration journey wouldn’t be complete without addressing the physical appearance of the Panasonic PV-C1322-K. The creator repaired broken plastic on the cabinet, ensuring that the TV/VCR not only functions well but also looks great. After all the repairs and cleaning, the final assembly brought the device back together, marking a significant milestone in the restoration process.

Testing and Retro Gaming Experience

With everything back in place, it was time for the ultimate test: playing classic Nintendo games on the restored CRT television. The satisfaction of seeing vintage gaming come to life on the screen, just as it was originally intended, is unmatched. The creator’s enthusiasm for retro gaming, CRT televisions, and vintage electronics shines through, making it clear that these devices hold a special place in the hearts of many enthusiasts.

This restoration project exemplifies the rewarding experience of breathing new life into vintage electronics rather than discarding them. For those who share a love for CRT TVs, VCRs, and retro gaming, following this journey offers inspiration and insight into the world of electronics repair. If you’re passionate about preserving the past and enjoying classic technology, consider subscribing to the channel for more engaging content like this!

The Panasonic PV-C1322-K lives again!

After solving the electrical problems in Part 1, it's finally time to finish the restoration. In this video I go through the entire VCR mechanism, clean years of old grease and dirt, lubricate everything properly, repair a broken front flap lever, reinforce the repaired circuit board, fix broken plastic on the cabinet, and put everything back together.

With the restoration complete, it's time for the real test… playing some classic Nintendo games on a vintage CRT television exactly the way they were meant to be played.

In this video: Reflowing solder joints on the main board Cleaning and lubricating the VCR transport Repairing the cassette door mechanism Reinforcing previous circuit board repairs Repairing the damaged cabinet Final assembly Functional testing Nintendo gameplay on the restored CRT

There's something incredibly satisfying about bringing vintage electronics back to life instead of sending them to the landfill.

If you enjoy CRT televisions, VCRs, retro gaming, vintage electronics and repair videos, consider subscribing!

Part 1: https://www.youtube.com/watch?v=xRnAjoJP8-8

#CRT #Panasonic #VCR #RetroGaming #Nintendo #ElectronicsRepair #Restoration #VintageElectronics #CRTTV

Watch on YouTube: I Finished Restoring This Panasonic CRT TV/VCR! (PV-C1322-K) | Part 2

Subscribe: Click here

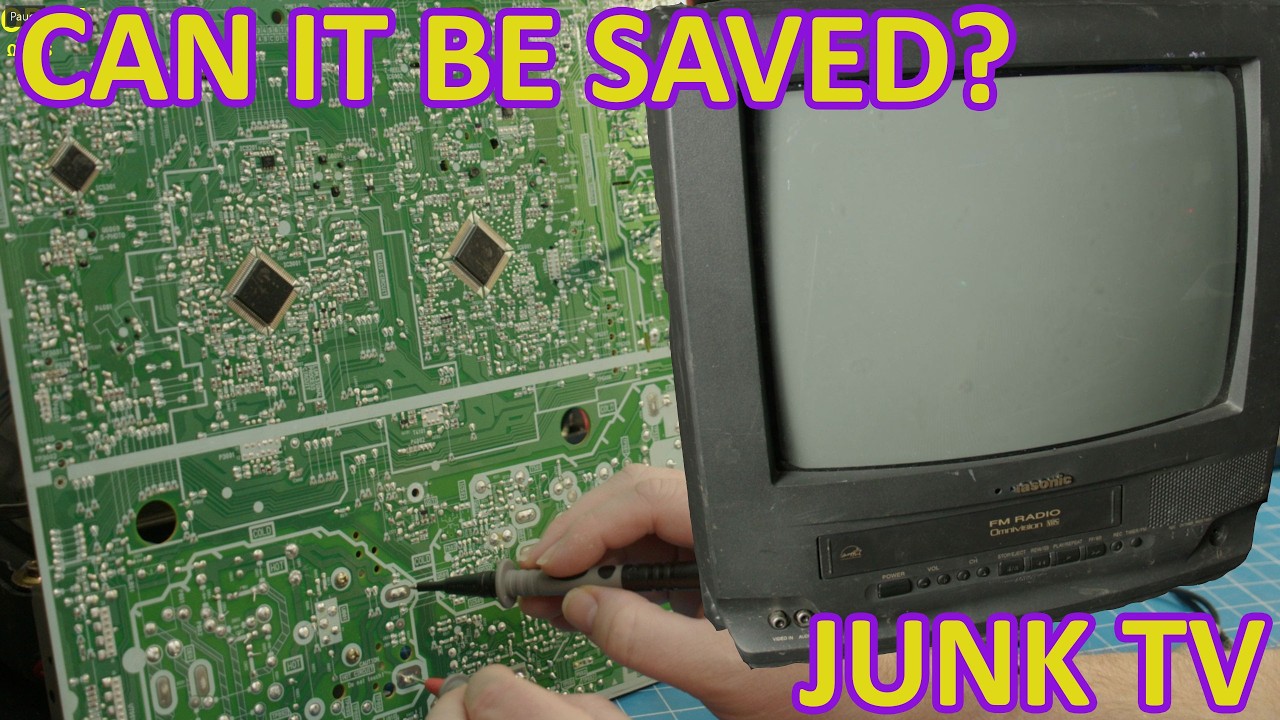
Can This Panasonic CRT TV Be Saved? | PV-C1322-K Repair (Part 1)

If you’re a fan of vintage electronics, you know that repairing older devices often comes with its own set of challenges. In a recent YouTube video, a Panasonic PV-C1322-K CRT TV/VCR combo was put under the microscope for a much-needed repair. What started as a seemingly straightforward task quickly morphed into a complex journey filled with unexpected issues. This first part of the repair series sets the stage for what promises to be an enlightening exploration of retro technology troubleshooting.

Uncovering Hidden Issues

The initial goal was to restore the Panasonic CRT TV/VCR to working condition, but, as is often the case with vintage equipment, the repair revealed multiple faults. The speaker notes that vintage electronics frequently present a series of hidden problems that must be addressed. This not only adds to the complexity of the repair but also underscores the importance of a meticulous approach when dealing with older devices.

A Look Ahead

In Part 2 of the series, viewers can expect an in-depth examination of several crucial repair tasks. The speaker plans to re-grease the entire VCR mechanism, which is essential for smooth operation. Additionally, there will be an inspection of the belts, with replacements likely if they show signs of wear. Cleaning the video heads is another critical step that will be undertaken, as it directly impacts the quality of playback and recording.

Tackling Mechanical Issues

Another significant focus will be on repairing a broken cassette mechanism lever. This is particularly important for the functionality of the VCR side of the combo unit. Ensuring that all mechanical components are in good working order is key to reviving this vintage piece of technology. Once these repairs are completed, the speaker will conduct long-term reliability testing to ensure that the unit can withstand everyday use.

Join the Journey

For anyone interested in the world of retro technology, this video series is a must-watch. It not only highlights the intricacies of CRT television repairs but also offers a glimpse into the rewarding experience of bringing vintage electronics back to life. If you have a passion for troubleshooting and restoring classic devices, subscribing to the channel ensures you won’t miss any of the hands-on action in Part 2.

The journey to restore the Panasonic PV-C1322-K is just beginning, and with multiple repair tasks on the agenda, viewers are in for an informative and engaging ride. Stay tuned for more insights into the fascinating world of vintage electronics!

It's time to tackle this Panasonic PV-C1322-K CRT TV/VCR combo!

What should have been a straightforward repair quickly turned into a weird one.

In Part 2 we'll be:

Re-greasing the entire VCR mechanism Inspecting and replacing belts if necessary Cleaning the video heads Repairing a broken cassette mechanism lever Performing long-term reliability testing Bringing this Panasonic back into daily working condition

Sometimes vintage electronics don't have just one fault… they have several waiting to be discovered!

If you enjoy vintage electronics, CRT televisions, VCRs, retro technology, and real-world troubleshooting, be sure to subscribe so you don't miss Part 2.

Watch on YouTube: Can This Panasonic CRT TV Be Saved? | PV-C1322-K Repair (Part 1)

Subscribe: Click here

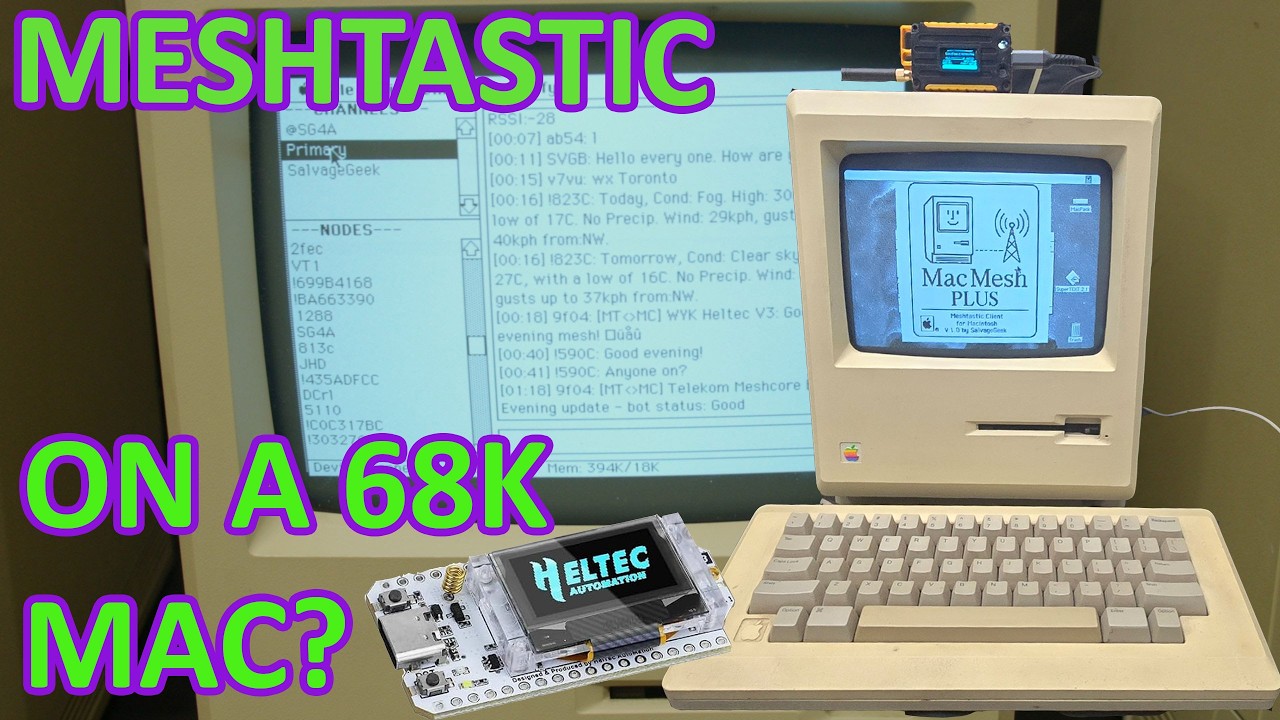
I made a Meshtastic application for Vintage Macintosh computers!

In an exciting blend of retro technology and modern communication, the innovative MacMesh Plus application has made its debut, allowing classic black-and-white Macintosh computers to join the contemporary Meshtastic messaging network. Specifically designed for the Mac Plus running System 6.0.8, this native application connects seamlessly to a Heltec Meshtastic node via its modem port. By utilizing the same protobuf-based serial protocol as the official Meshtastic apps, MacMesh Plus enables a time-honored computer from 1986 to engage in real-time conversations over a modern LoRa mesh network.

Direct Communication without Emulation

One of the standout features of MacMesh Plus is its ability to communicate directly with the Meshtastic node without relying on emulation or intermediary software. Unlike other solutions that might involve modern machines translating data for older systems, MacMesh Plus allows the Macintosh to communicate over serial directly. This direct interaction means that the Mac not only sends and receives messages but also decodes the packets itself, all while utilizing the Macintosh’s own Toolbox for rendering the results. This innovative approach preserves the authenticity of the vintage computing experience while bridging it to today’s technology.

Joining the Modern Mesh Network

With MacMesh Plus, users can see who is active on the Meshtastic network and participate in conversations just as if they were using a modern device. This unique capability opens the door for enthusiasts of vintage computing to engage with current communication methods, creating a fascinating intersection of past and present technology. The application demonstrates how older hardware can still play a role in modern networks, showcasing the enduring relevance of classic machines in today’s digital landscape.

Accessing the Application

For those eager to dive into this nostalgic yet innovative technology, file downloads and detailed instructions are readily available online. Interested users can visit the dedicated website at salvagegeek.com/macmesh to find everything they need to get started. Whether you are a vintage computing aficionado or simply curious about the intersection of retro and modern tech, MacMesh Plus offers an exciting opportunity to explore new communication possibilities.

In summary, MacMesh Plus is more than just an application; it’s a celebration of how far technology has come while honoring its roots. By enabling classic Macintosh computers to connect with today’s communication networks, it proves that even the oldest machines still have a voice in the digital world. As we look toward the future, projects like this remind us of the rich history of computing and inspire us to keep exploring the endless possibilities that lie ahead.

MacMesh Plus is a native application that brings Meshtastic messaging to classic black-and-white Macintosh hardware — a Mac Plus running System 6.0.8, connected to a Heltec Meshtastic node over its modem port. It reads and writes the same protobuf-based serial protocol as the official Meshtastic apps, so a 1986 computer can join a modern LoRa mesh, see who's on it, and hold a conversation.

No emulation tricks, no bridge software translating on a modern machine in the middle — the Mac talks directly to the node over serial, decodes the packets itself, and draws the result with the Mac's own Toolbox.

File downloads and instructions are at: https://salvagegeek.com/macmesh

Watch on YouTube: I made a Meshtastic application for Vintage Macintosh computers!

Subscribe: Click here

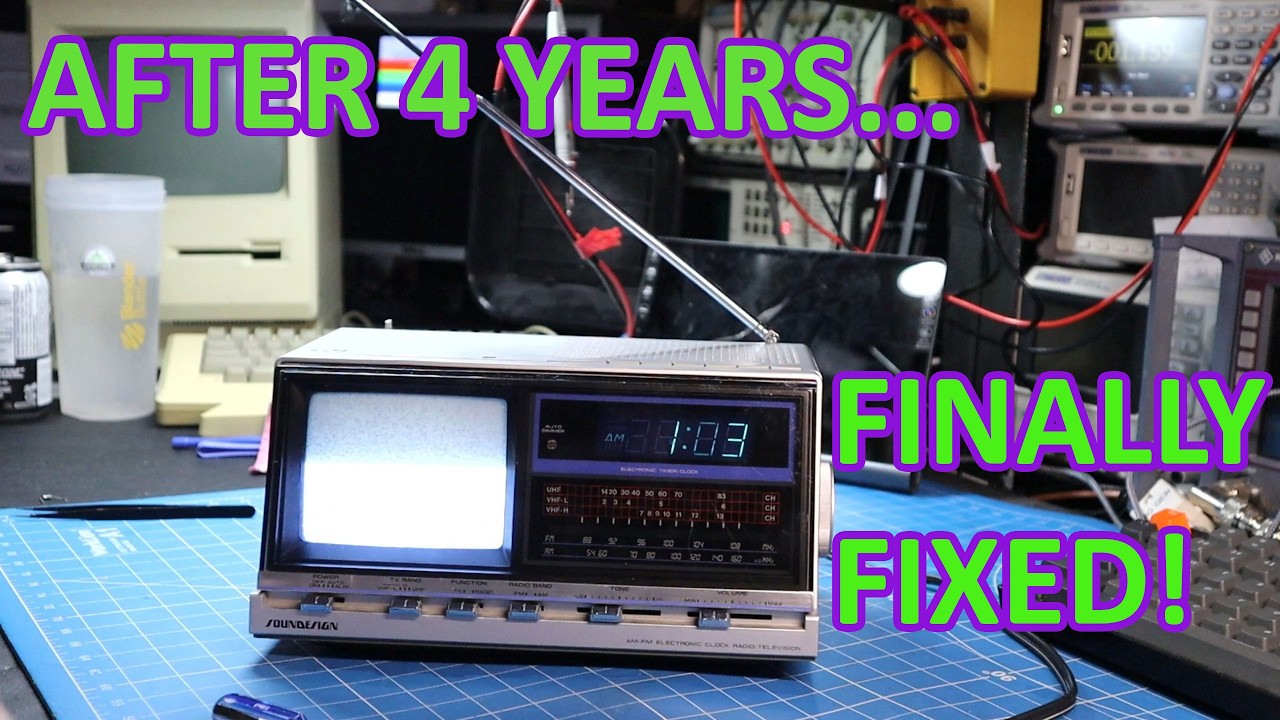
I Finally Finished This Repair… After 4 Years

Four years ago I tore into this Soundesign Model 3939—a strange combination of an AM/FM radio, alarm clock, and a built-in 5-inch black and white CRT television. Then life happened, the project got pushed aside, and it sat on a shelf waiting to be finished.

In this video I'm finally dusting it off and seeing if I can get this unusual piece of vintage electronics working again. Along the way we'll troubleshoot decades-old circuitry, repair the faults, and find out if this little CRT TV still has some life left in it.

I love rescuing forgotten electronics like this, especially the weird designs that most people have never seen before.

If you enjoy vintage computers, retro electronics, CRTs, radio repairs, and hardware restoration, you're in the right place.

Subscribe for more retro repairs, vintage computer restorations, hardware hacking, and electronics projects.

Equipment Featured

Soundesign Model 3939 5" Black & White CRT Television AM/FM Clock Radio

#CRT #VintageElectronics #ElectronicsRepair #RetroTech #ClockRadio #Television #Repair #Restoration #Soundesign #SalvageGeek

Watch on YouTube: I Finally Finished This Repair… After 4 Years

Subscribe: Click here

I Tracked the Fault… But This Icom ID-880H Was Beyond Repair

Welcome back to the bench! In this fascinating repair journey, we explore the troubleshooting process of an Icom ID-880H radio that refuses to power on. The radio itself is known for its quality, but this particular unit presents a challenge as it has been non-functional for some time. The repair technician begins the process by injecting power into various points of the radio to diagnose the no-power issue, which is often linked to faulty voltage regulators.

Initial Troubleshooting Steps

The technician starts by preparing the radio for testing, using a current-limited power supply to avoid damage. A blown fusible link is identified as a potential culprit, hinting at a previous misconnection. After confirming the presence of 13.8 volts at certain points, the technician discovers that multiple voltage outputs are missing, prompting a deeper investigation into the internal components, including the critical IC20 voltage regulator.

Identifying the Problematic Components

As the technician probes IC20, it becomes evident that the regulator may be faulty. After temporarily bypassing some resistors, the technician removes the regulator to eliminate it as a source of a short circuit. The tests indicate that the short is no longer present, suggesting that IC20 was indeed the issue. However, subsequent tests reveal that another voltage regulator, IC21, is also problematic, requiring a thorough examination of the circuit.

Digging Deeper into the Circuit

The technician continues the investigation, using a thermal gun to identify overheating components. This reveals that a specific capacitor and a ferrite bead are also potential failures in the power circuit. The meticulous approach of checking each component leads to the discovery that the CPU itself is heating up significantly, indicating a possible short. This discovery raises the stakes, as the CPU is a critical component that could be difficult to replace.

The Dilemma of Repairing the Icom ID-880H

Ultimately, the technician concludes that the CPU is the source of the problem, but unfortunately, Icom does not sell the microprocessor separately. Even if available from third-party sources, the programming required for the CPU is proprietary to Icom, leaving the technician at a standstill. This scenario illustrates the challenges faced in repairing modern electronics, particularly when proprietary components are involved.

As the video wraps up, the technician reflects on the hurdles faced during this repair project, offering insights into the troubleshooting process and the technical challenges of working with complex electronic devices. For those interested in electronics repair, this case serves as a valuable lesson in patience and persistence. If you enjoyed this troubleshooting journey, be sure to leave your thoughts in the comments!

Not every repair has a happy ending… and that's part of troubleshooting.

In this video I take a look at a completely dead Icom ID-880H dual-band amateur radio. Starting with a shorted 5V rail, I follow the evidence through multiple failed components before eventually uncovering the real culprit—a failed CPU that had internally shorted the supply.

Unfortunately, replacement CPUs for this radio simply aren't available, so this one ends up becoming a donor for future repairs. While I couldn't bring it back to life, the troubleshooting journey is still a great example of methodically tracking down a difficult fault.

In this video:

Diagnosing a dead Icom ID-880H Tracking down a 5V short circuit Testing and replacing damaged components Finding the failed CPU Why some radios simply can't be repaired

Sometimes the most valuable repair is learning when a device is beyond saving.

If you enjoy electronics repair, vintage computers, radios, hardware hacking, and bringing old technology back to life, consider subscribing for more projects.

#Icom #HamRadio #AmateurRadio #ElectronicsRepair #RadioRepair #ID880H #Troubleshooting #CircuitRepair #Electronics #SalvageGeek

Watch on YouTube: I Tracked the Fault… But This Icom ID-880H Was Beyond Repair

Subscribe: Click here

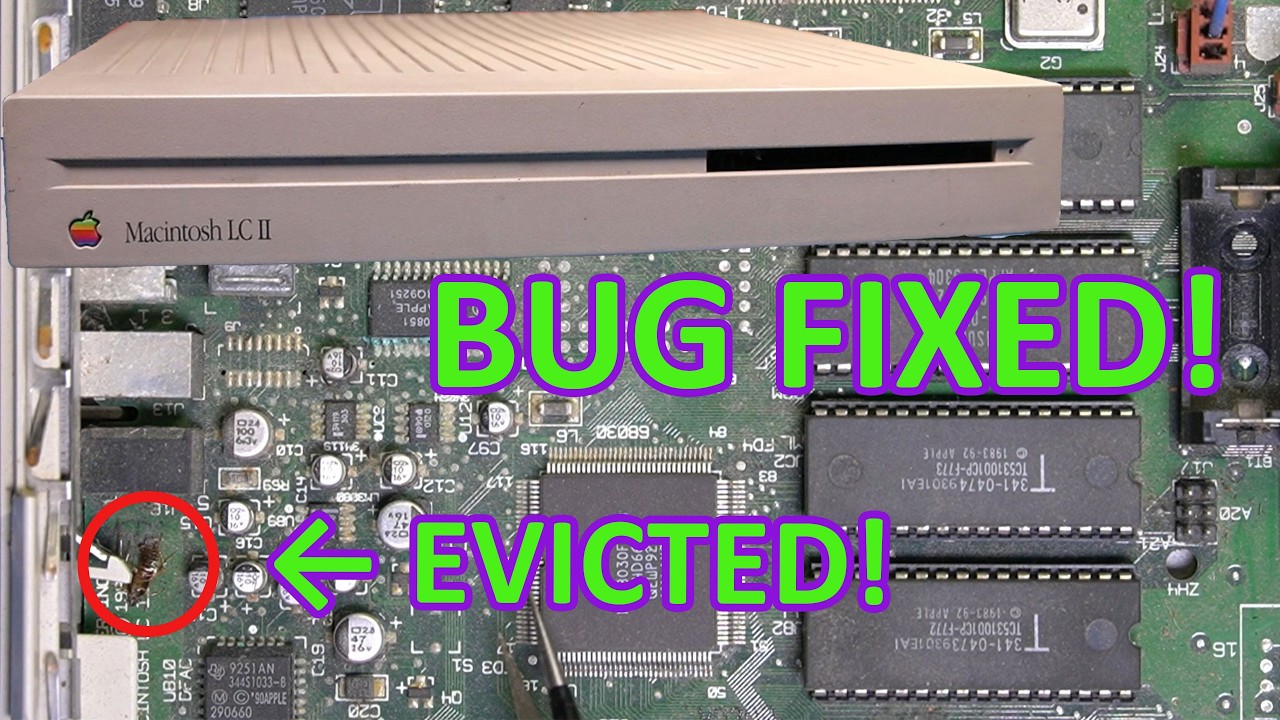
I Saved This Macintosh LC II With a Toothbrush and Soldering Iron

If you’re a fan of vintage computing, the story of rescuing a Macintosh LC II is one that will resonate deeply. In a recent YouTube video, a passionate retro tech enthusiast took on the challenge of reviving a neglected Macintosh LC II, which had seen better days. This classic machine, dating back to the early ’90s, was found languishing in a junk pile, riddled with issues such as leaking electrolytic capacitors, corrosion on the logic board, and a power supply filled with failed components. The journey to restore this piece of computing history was both intricate and rewarding.

Diagnosing the Damage

The restoration process began with a complete teardown of the Macintosh LC II. The host meticulously examined each component, identifying the various problems that had accumulated over the years. The logic board was particularly affected by corrosion, which is a common issue for vintage electronics. Additionally, the power supply was in dire need of attention, as it was packed with failed capacitors that could no longer provide the necessary power. The physical state of the machine was equally troubling, with broken plastics that required careful repair before reassembly could begin.

Deep Cleaning and Recapping

One of the most crucial steps in the restoration was a deep cleaning of all components. Using a toothbrush and other tools, the host diligently removed dirt and grime, ensuring that the internals were as clean as possible before proceeding with repairs. Recapping both the logic board and power supply became a priority, as replacing the failing capacitors would be essential for the Macintosh to function correctly. This process not only enhances the reliability of the machine but also extends its lifespan, a critical aspect for any vintage restoration project.

Troubleshooting the SCSI Port

Just when the restoration seemed complete, a new challenge arose: the external SCSI port was unresponsive. This unexpected hurdle led to a troubleshooting session where the host investigated potential causes. To their surprise, the solution turned out to be simpler than anticipated, showcasing the sometimes unpredictable nature of electronics repair. This moment of discovery highlighted the importance of patience and attention to detail in the restoration process.

Reviving Vintage Gaming

With all repairs completed and the Macintosh LC II back in one piece, it was finally time for some nostalgic fun. The host loaded up a selection of classic Macintosh games, allowing the 68030-powered machine to shine as it had over 30 years ago. Watching this vintage computer come back to life and perform as intended was a testament to the hard work and dedication invested in the restoration process. For enthusiasts of retro technology, this journey not only preserves a piece of computing history but also inspires others to take on their own restoration projects.

If you’re fascinated by the world of vintage computers, be sure to subscribe to the channel for more weekly content that delves into the art of electronics repair, restoration, and the joy of keeping retro technology alive. Each video is a reminder that with a bit of effort and creativity, even the most neglected machines can be brought back to life.

I rescued this Macintosh LC II from the junk pile to see if it could be brought back to life.

This poor machine had everything you'd expect from a neglected early '90s Macintosh: leaking electrolytic capacitors, corrosion on the logic board, a power supply full of failed capacitors, and even a broken case. In this video I completely tear it down, deep clean everything, recap both the logic board and power supply, repair the damaged plastics, and put it all back together.

Just when it looked like the restoration was complete, I ran into one last problem—the external SCSI port refused to work. After a bit of troubleshooting, the culprit turned out to be much simpler than expected.

Once everything was finally working, it was time to load up a few classic Macintosh games and see this 68030-powered machine doing what it was built to do over 30 years ago.

If you enjoy restoring vintage computers, repairing old electronics, and keeping retro technology alive, consider subscribing for more videos every week.

#Macintosh #Apple #MacintoshLCII #VintageComputers #RetroComputing #CapacitorReplacement #Recapping #ElectronicsRepair #ComputerRestoration #68kMac #ClassicMac #RetroTech #SalvageGeek

Watch on YouTube: I Saved This Macintosh LC II With a Toothbrush and Soldering Iron

Subscribe: Click here

I Saved This Macintosh LC II With a Toothbrush and Soldering Iron

I rescued this Macintosh LC II from the junk pile to see if it could be brought back to life.

This poor machine had everything you’d expect from a neglected early ’90s Macintosh: leaking electrolytic capacitors, corrosion on the logic board, a power supply full of failed capacitors, and even a broken case. In this video I completely tear it down, deep clean everything, recap both the logic board and power supply, repair the damaged plastics, and put it all back together.

Just when it looked like the restoration was complete, I ran into one last problem—the external SCSI port refused to work. After a bit of troubleshooting, the culprit turned out to be much simpler than expected.

Once everything was finally working, it was time to load up a few classic Macintosh games and see this 68030-powered machine doing what it was built to do over 30 years ago.

If you enjoy restoring vintage computers, repairing old electronics, and keeping retro technology alive, consider subscribing for more videos every week.

#Macintosh #Apple #MacintoshLCII #VintageComputers #RetroComputing #CapacitorReplacement #Recapping #ElectronicsRepair #ComputerRestoration #68kMac #ClassicMac #RetroTech #SalvageGeek

Watch on YouTube: I Saved This Macintosh LC II With a Toothbrush and Soldering Iron

Subscribe: Click here

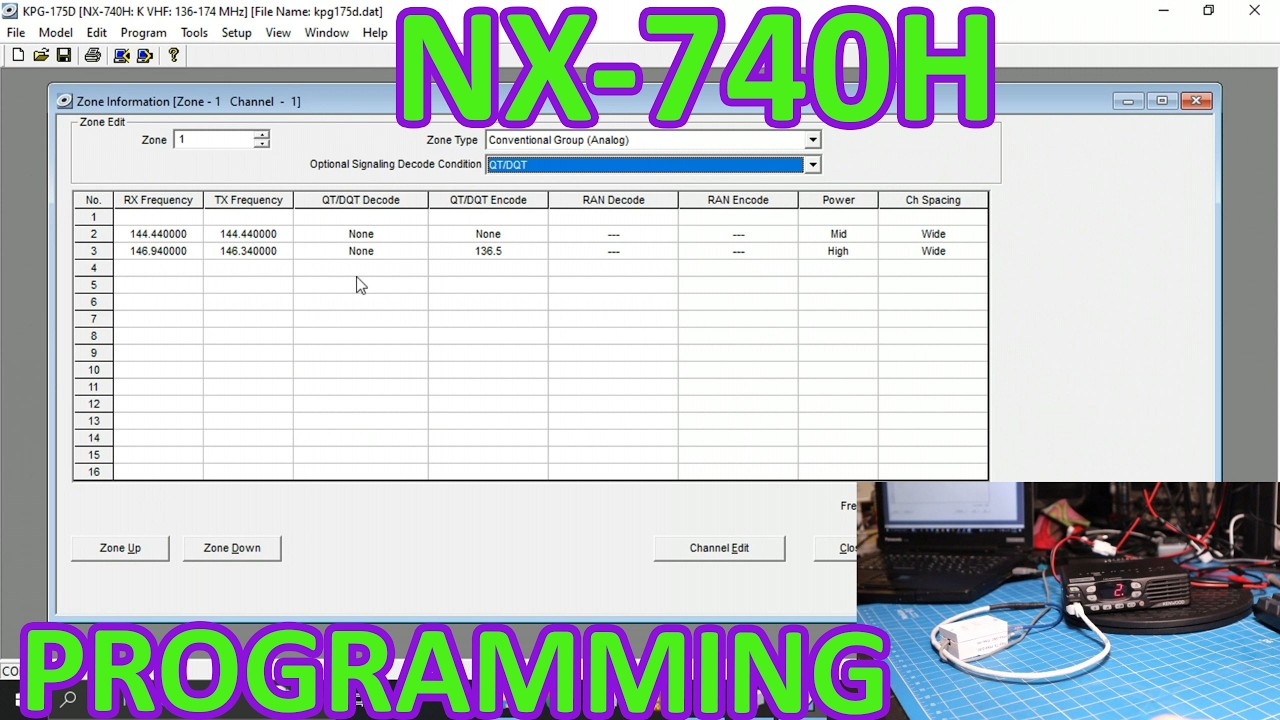
How to Program a Kenwood NX-740H Mobile Radio

Programming the Kenwood NX-740H mobile radio can initially seem daunting, but with the right tools and guidance, you’ll find it to be a straightforward process. In this informative video, the presenter walks viewers through the essential steps needed to effectively program this versatile two-way radio. Whether you’re a seasoned ham radio operator or a newcomer to the world of mobile communications, this tutorial provides valuable insights and practical tips.

Essential Software and Hardware

The video highlights two crucial items required for programming the NX-740H: the KPG-175DN software and the KPG-46 programming cable. The KPG-175DN software is designed specifically for Kenwood radios, providing a user-friendly interface that simplifies the programming process. Meanwhile, the KPG-46 cable ensures a smooth connection between your computer and the radio, making it easy to transfer settings and configurations.

Step-by-Step Programming Guide

Throughout the video, viewers are guided through a step-by-step programming process. The presenter emphasizes the importance of familiarizing oneself with the software interface, as it will allow users to input the necessary frequencies, channels, and other configurations specific to their communication needs. By following along, viewers can learn how to set up their radios for optimal performance, whether for personal use, emergency services, or professional communications.

Engagement and Community Support

In addition to the technical content, the presenter encourages viewers to engage with the channel by subscribing and liking the video if they found it helpful. This call to action is an excellent reminder of the importance of community in the world of electronics and radio programming. The presenter also invites viewers to leave comments with questions or suggestions for future tutorials, fostering an interactive environment where enthusiasts can share knowledge and experiences.

Conclusion

In conclusion, the Kenwood NX-740H mobile radio is a powerful tool that, when programmed correctly, can significantly enhance your communication capabilities. This video tutorial serves as a valuable resource for anyone looking to delve into radio programming. With the right software, hardware, and guidance, you’ll be well on your way to mastering your NX-740H and enjoying all the benefits it has to offer. Don’t forget to subscribe for more content related to radio, electronics repair, retro computing, and more!

In this video I'll show you how to program a Kenwood NX-740H mobile radio.

Software used: KPG-175DN

Program cable used: KPG-46

If you found this video helpful, please consider subscribing for more radio, electronics repair, retro computing, and technical how-to videos.

👍 Like the video if it helped. 💬 Leave a comment if you have questions or would like to see more Kenwood programming tutorials.

#Kenwood #NX740H #TwoWayRadio #HamRadio #LandMobileRadio #RadioProgramming #KenwoodNX #Electronics #SalvageGeek

Watch on YouTube: How to Program a Kenwood NX-740H Mobile Radio

Subscribe: Click here